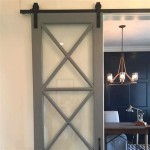
Replacing the glass in your Andersen storm door can be a daunting task, but it doesn’t have to be. With the right tools and some patience, you can have your storm door looking like new in no time.
Gathering the Necessary Tools and Materials
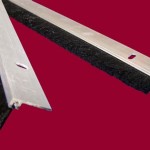
Before you begin, you will need to gather the necessary tools and materials. You will need a few common tools such as a screwdriver, pliers, and a utility knife. In addition to these, you will need safety glasses, replacement glass, and Andersen storm door hardware.
Removing the Old Glass
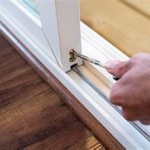
Once you have all the necessary materials, the first step is to remove the old glass. Start by loosening and removing all the screws that hold the storm door frame in place. Carefully lift the frame away from the door, taking care not to scratch or damage the door itself. Once the frame is removed, use the utility knife to cut away any sealant or caulk around the edges of the glass. You can then remove the old glass and set it aside.
Installing the Replacement Glass
Now that the old glass is removed, you can begin installing the new glass. Start by measuring the opening to ensure that the replacement glass will fit properly. Once you have the measurements, you can cut the replacement glass to size using a glass cutter. Place the new glass in the opening and use a caulk gun to apply a thin bead of sealant around the edges.
Finishing the Installation
Once the new glass is installed, you can finish the installation by reinstalling the storm door frame. Make sure all the screws are tightened securely and the frame is level. Finally, use a damp cloth to remove any excess sealant or caulk from the glass and frame. You can then enjoy your newly installed Andersen storm door glass.


Related Posts