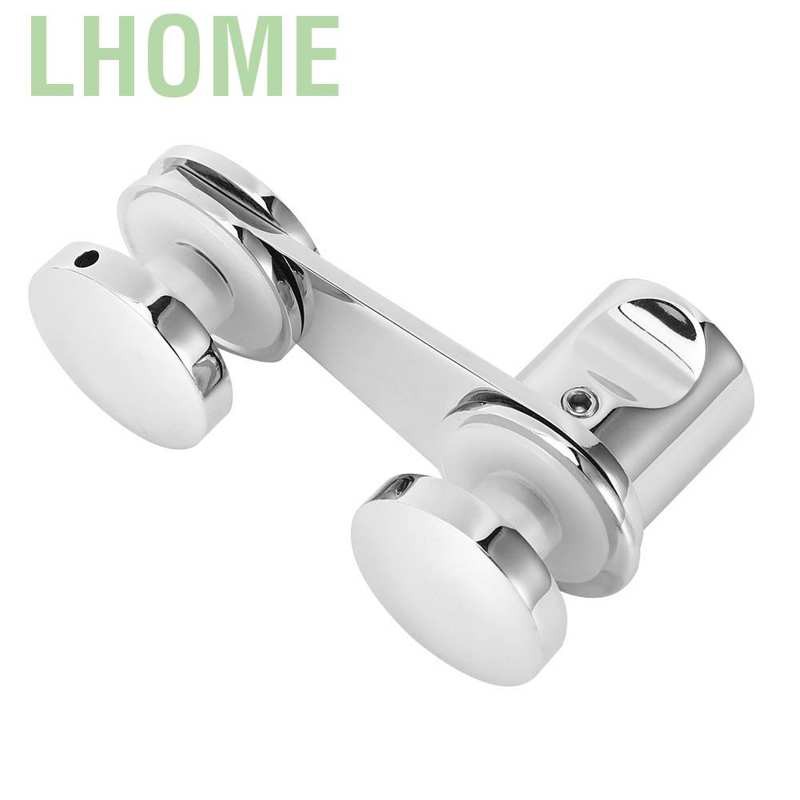
A glass shower door latch is a crucial component of any shower door. It provides a secure way to keep the door closed and prevent water from leaking out. Replacing or installing a new latch can be a simple process with the right tools and instructions.
Tools and Materials Needed
Before you begin, make sure you have the right tools and materials for the job. You’ll need a drill, a screwdriver, a measuring tape, screws, and any replacement parts you need.
Step-by-Step Guide
Follow these steps for installing or replacing a glass shower door latch:
- Measure the opening in your shower door. Measure the length of the latch, from the top to the bottom, to make sure the replacement part will fit.
- Remove the existing latch. Unscrew the screws that are holding it in place and carefully pry it off.
- Install the new latch. Place the new latch in the opening and use a drill to secure it.
- Replace any broken parts. If the latch is damaged, make sure to replace any broken pieces before you re-install it.
- Test the latch. After it is installed, test the latch to make sure it is working properly.
Tips and Tricks
Here are some tips and tricks for installing and replacing a glass shower door latch:
- Make sure you have the right tools for the job. Using the wrong tools can damage the latch or cause injury.
- Be gentle when prying off the old latch. If you are too forceful, you could damage the door or the latch itself.
- Make sure the latch is the right size for the opening. If the latch is too big or too small, it won’t fit properly.
- Check the latch regularly to make sure it is working properly. If it isn’t, you may need to replace it.


Related Posts