How to Add Glass Cabinet Doors in Revit
Glass cabinet doors add a touch of elegance and sophistication to any kitchen or bathroom. They allow you to display your glassware and other prized possessions while keeping them dust-free. If you're looking to add glass cabinet doors to your Revit model, follow these simple steps:
1. Create a New Family
The first step is to create a new family for your glass cabinet doors. To do this, click on the "New" tab in the ribbon and select "Family." In the "New Family" dialog box, select "Metric" or "Imperial" as the template, and then click "OK."
2. Sketch the Profile of the Cabinet Door
In the family editor, sketch the profile of the cabinet door. The profile should include the overall dimensions of the door, as well as the location of the glass panel. You can use the "Line" and "Rectangle" tools to create the profile.
3. Create the Glass Panel
Once you have sketched the profile of the cabinet door, you need to create the glass panel. To do this, select the "Glass" tool from the "Components" tab. Click on the "Insert" tab and select "New Glass."
In the "New Glass" dialog box, specify the dimensions of the glass panel. You can also select the type of glass you want to use. There are several types of glass available, including clear glass, frosted glass, and tinted glass.
4. Add the Glass Panel to the Cabinet Door
Once you have created the glass panel, you need to add it to the cabinet door. To do this, select the glass panel and then click on the "Insert" tab. Select "Insert into Family" and then click on the cabinet door.
5. Add the Hardware
The final step is to add the hardware to the cabinet door. This includes the hinges, knobs, and pulls. To add the hardware, select the "Components" tab and then click on the "Hardware" tool. Click on the "Insert" tab and select the type of hardware you want to add.
Once you have added the hardware, your glass cabinet door family is complete. You can now load the family into your Revit project and place it in your model.
Tips for Adding Glass Cabinet Doors in Revit
- When creating the profile of the cabinet door, be sure to include the reveals. The reveals are the small gaps between the door and the frame.
- When adding the glass panel to the cabinet door, be sure to align it with the reveals. This will ensure that the door closes properly.
- When adding the hardware, be sure to select the correct size and type of hardware. The hardware should be appropriate for the size and weight of the cabinet door.
By following these steps, you can easily add glass cabinet doors to your Revit model. Glass cabinet doors are a great way to add a touch of elegance and sophistication to any kitchen or bathroom.

Rd077 How To Make Parametric Modular Kitchen Casework In Revit Part 16 Base Unit Glass Door Panel

Upper Cabinet Double Door W Glass Wall In Revit Library

Revit Tutorial Sliding Glass Door Fixed Window

Revit Tutorial Sliding Glass Door Fixed Window

Revitcity Com Object Kitchen Wall Cabinet Double Door With Glass Panels

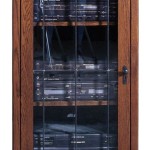
Tall Cabinet Sliding Glass Doors Revit Family Thousands Of Free Cad Blocks

Revit Content Door

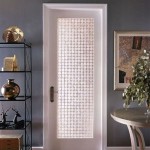
Interior Glass Door Revit Wood Puerta Madera Cristal Bimshares

16 Steps To Create A Door Family In Revit Pure

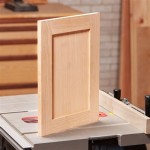
Adding A Center Rail To Cabinet Door General Q Chieftalk Forum
Related Posts