Replacing sliding glass door rollers is a relatively simple DIY project that can help you save time and money. With the right tools and a little bit of patience, you can easily replace your sliding glass door rollers in no time. Here’s a step-by-step guide on how to replace your sliding glass door rollers.
Step 1: Gather the Necessary Tools
Before you get started, it’s important to have the right tools for the job. You will need a flathead screwdriver, a Phillips-head screwdriver, a hammer, pliers, and a pair of safety glasses. Make sure to wear the safety glasses when working with the door and the tools.
Step 2: Remove the Old Rollers
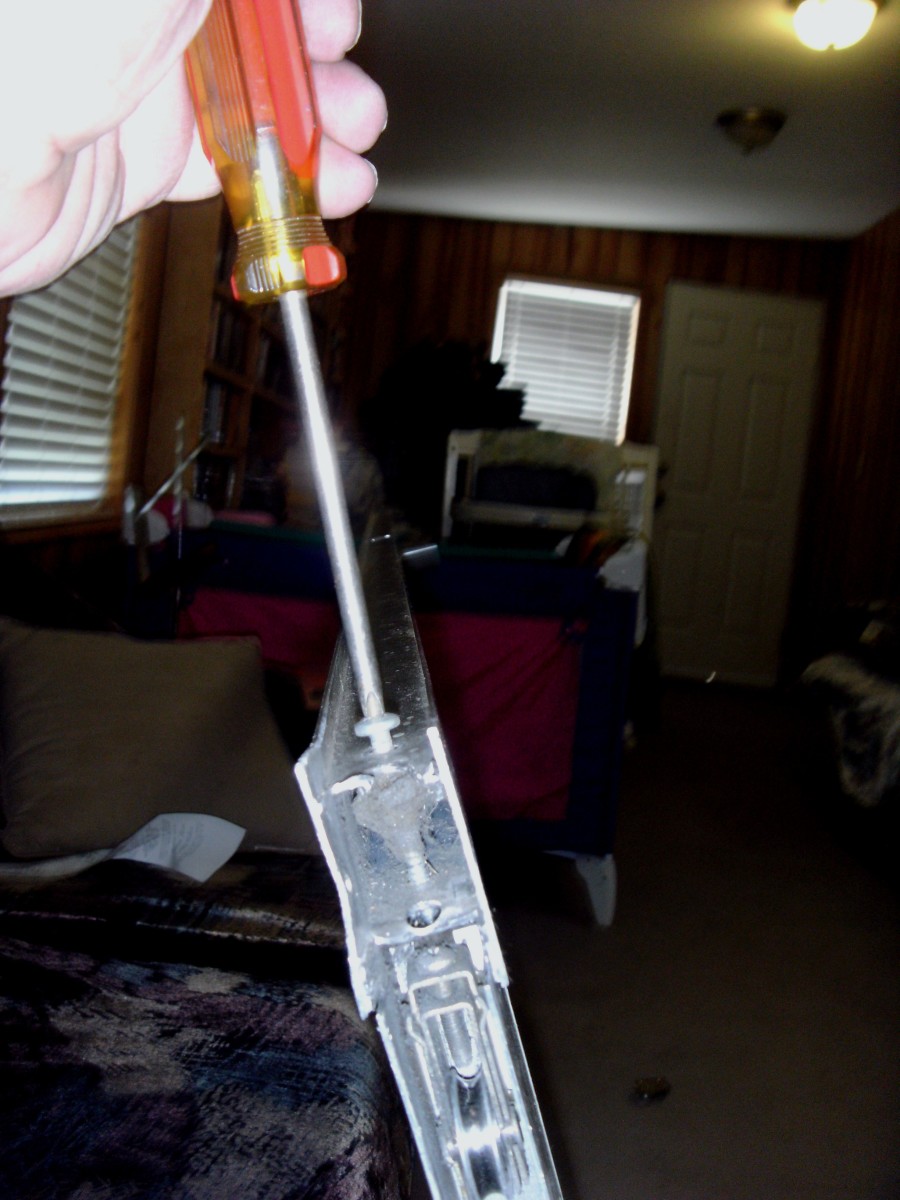
Once you have all of the necessary tools, you can begin to remove the old rollers. Use the flathead screwdriver to loosen the screws that are holding the roller in place. Once the screws are loose, use the pliers to pull the roller out of the track. Be careful not to damage the track as you remove the roller.
Step 3: Install the New Rollers
Now that the old rollers have been removed, it’s time to install the new ones. Place the new roller into the track and use the hammer to gently tap it into place. Make sure the roller is securely in the track before you tighten the screws. Once the screw is tight, use the Phillips-head screwdriver to tighten the screw to secure the roller in place.
Step 4: Test the New Rollers
Once the new rollers have been installed, it’s time to test them out. Open and close the door several times to make sure the rollers are working properly. If the door is not sliding smoothly, you may need to adjust the rollers or replace them altogether.
Conclusion
Replacing sliding glass door rollers is a relatively simple DIY project that can help you save time and money. With the right tools and a little bit of patience, you can easily replace your sliding glass door rollers in no time. Be sure to wear safety glasses and work carefully when replacing the rollers to avoid any damage to the door or the track.


![How to Replace a Patio Sliding Glass Door Roller [1080p] YouTube](https://i2.wp.com/i.ytimg.com/vi/QWm2YG_jNAc/maxresdefault.jpg)


Related Posts