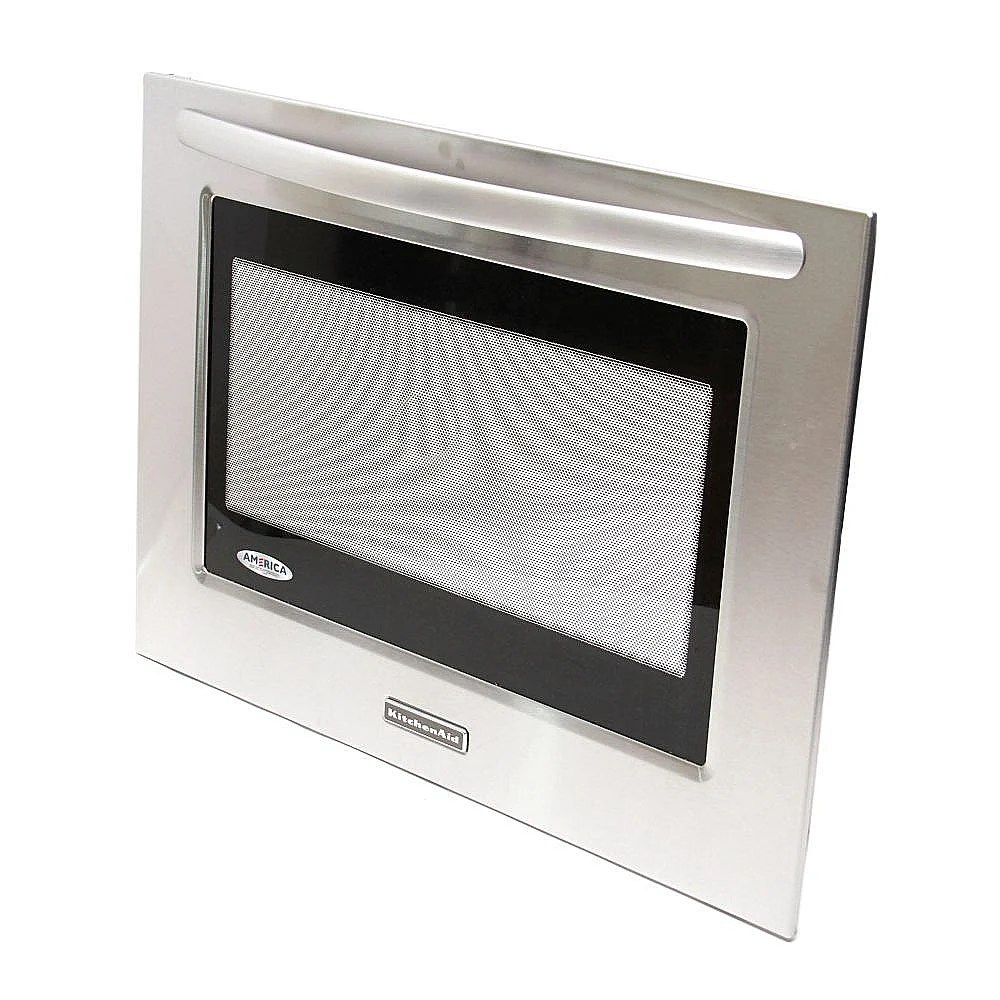
The glass on an oven door is an important component of the appliance, as it provides a visual window into the oven while also providing insulation and preventing heat from escaping. Unfortunately, this glass can become damaged over time, requiring replacement. If you have a GE oven, you may be wondering how to go about replacing the oven door glass. Read on for a comprehensive guide to replacing the oven door glass on a GE oven.
Tools and Materials Needed
Before getting started, you’ll need to gather the right tools and materials for the job. You’ll need the following:
- Replacement oven door glass
- Phillips head screwdriver
- Flathead screwdriver
- Needle-nose pliers
- Rag or cloth
Steps to Replacing the Oven Door Glass
- Unplug the oven to ensure safety.
- Open the oven door and use the screwdriver to remove the screws that hold the door in place. Be sure to keep the screws in a safe place.
- Carefully lift the door off the oven and place it on a flat, stable surface.
- Use the needle-nose pliers to remove the clips that hold the glass in place.
- Carefully remove the old glass and set it aside.
- Clean the edges of both the door and the new glass with the rag or cloth.
- Place the new glass in the door and secure it with the clips.
- Reattach the door to the oven and use the screws to secure it in place.
- Plug the oven back in and test the door to make sure it is secure.
Additional Tips
When replacing the oven door glass, it’s important to be extra careful. The glass can be fragile, and it’s easy to damage it if you’re not careful. Additionally, make sure you use the right tools for the job. Using the wrong tools can make the process more difficult and even damage the door or the glass. If you’re not confident in your ability to replace the oven door glass, it’s best to call a professional to do the job for you.


Related Posts